Chevy Tahoe Rear Suspension Kit Install – Core 4x4 GMT800 Camp Series Guide
After 15 years of building Jeep and truck suspension—and more than a decade in Ram and Dodge—Core 4x4 is finally here for the Chevy and GMC crowd. In this install, the team bolts the new seven-piece Camp Series rear suspension kit onto a 22-year-old, 200,000-mile Chevy Tahoe: adjustable upper and lower control arms, an adjustable rear track bar, and heavy-duty sway bar end links. It is a complete, geometry-correcting rear upgrade for the entire GMT800 platform—no cutting, no welding, no drop brackets.
What Is the GMT800 Platform?
GMT800 is the chassis and suspension architecture GM used across a huge range of its full-size SUVs from 2000 to 2006: the Chevy Tahoe, Suburban 1500, and Avalanche 1500, the GMC Yukon 1500 and Yukon XL 1500, and the Cadillac Escalade. The rear end rides on a five-link coil setup—two upper control arms, two lower control arms, and a track bar—and it served GM well enough that they put it under nearly everything with a badge and a third row.
But the newest GMT800 is now two decades old, and the rubber in that five-link rear end has been counting every one of those years.
Common GMT800 Rear Suspension Problems
The Tahoe in this video came into the shop with exactly the failures that plague the platform:
- Z55 air ride failure – the AutoRide air suspension option (factory on the Escalade and some Denali trims) dry-rots its airbags as it ages. Eventually they go flat and the rear end sags overnight. The electronics fail, and on models with AutoRide struts, those leak too.
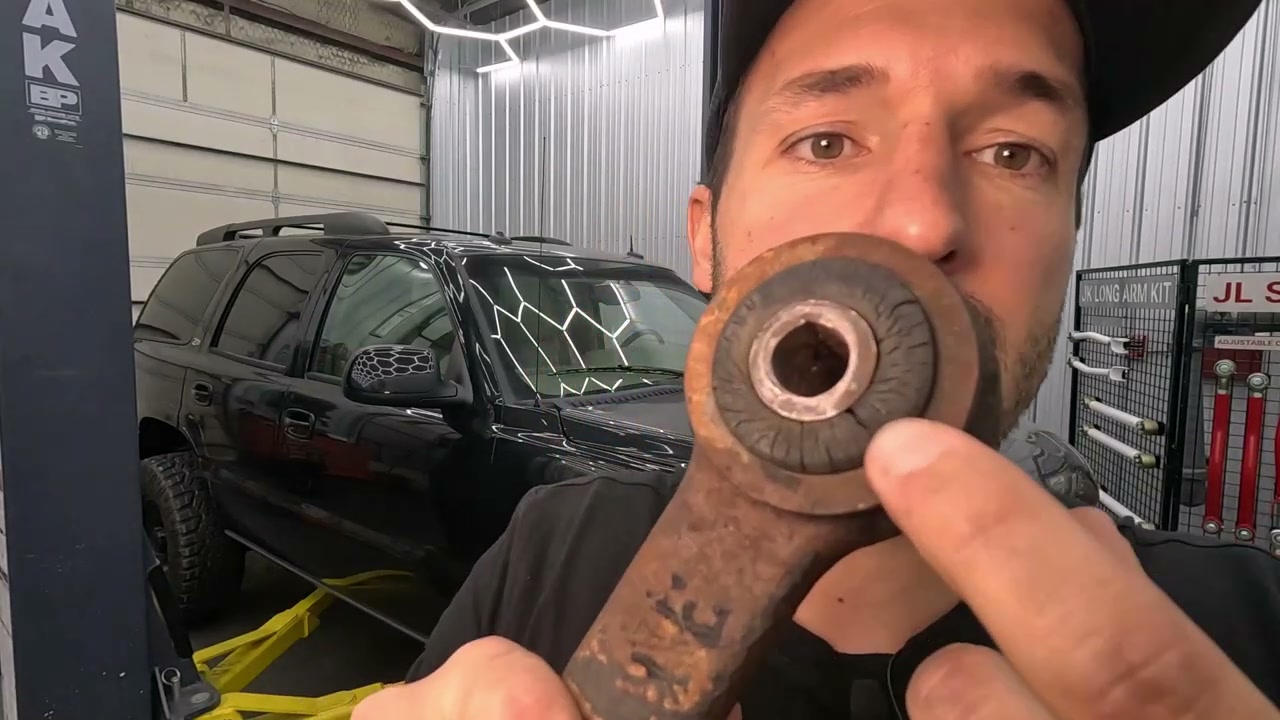
- Dry-rotted, cracked bushings – the factory rubber control arm bushings crack and crumble, letting the axle move around under the truck.
- Rear axle misalignment – worn-out arms let the axle track out of sync with the front end, causing wandering, dog tracking, and uneven tire wear.
- Driveline vibrations – when the pinion angle drifts far enough out of spec, you feel it through the whole truck.
The most common fix for a failed air ride system is to delete it—replace the airbags with a coil and shock setup. That is the most cost-effective way to handle the problem, but ride height after a delete is not always the same as stock, and on a truck this old the surrounding suspension components are shot anyway. If you are in there replacing parts, it is the right time to correct the geometry with adjustable components.
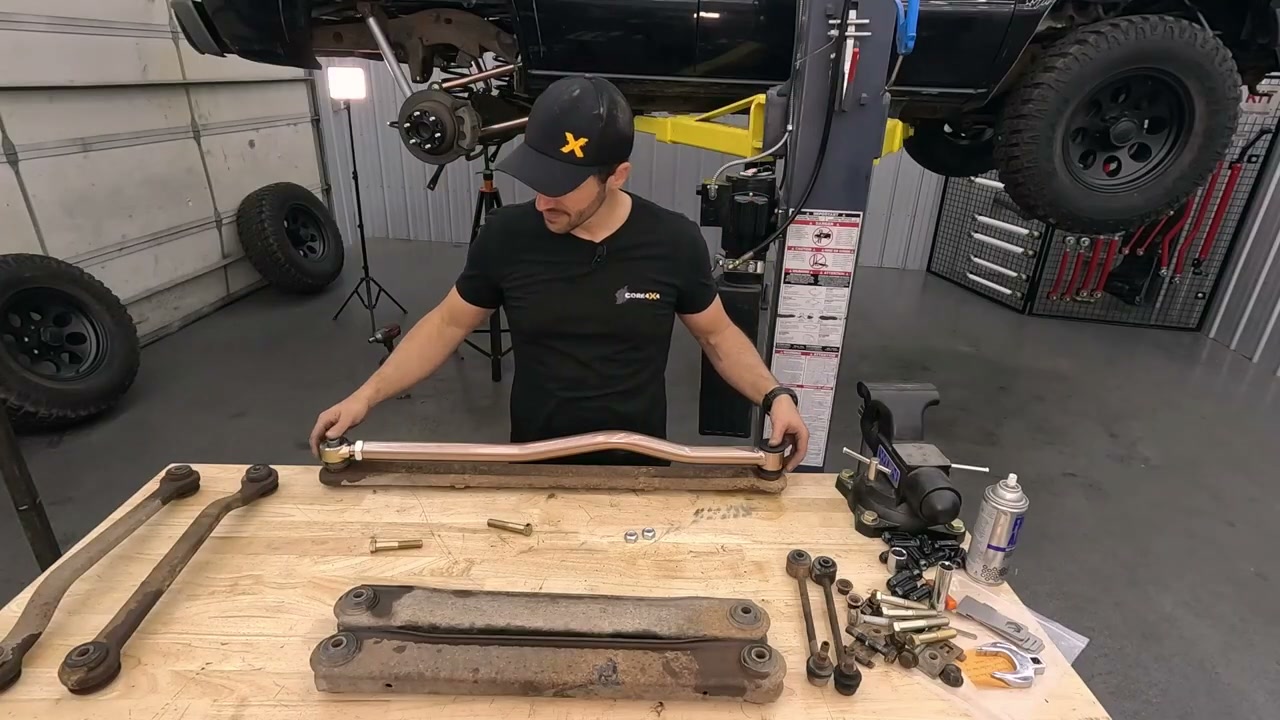
The Core 4x4 7-Piece Camp Series Rear Kit
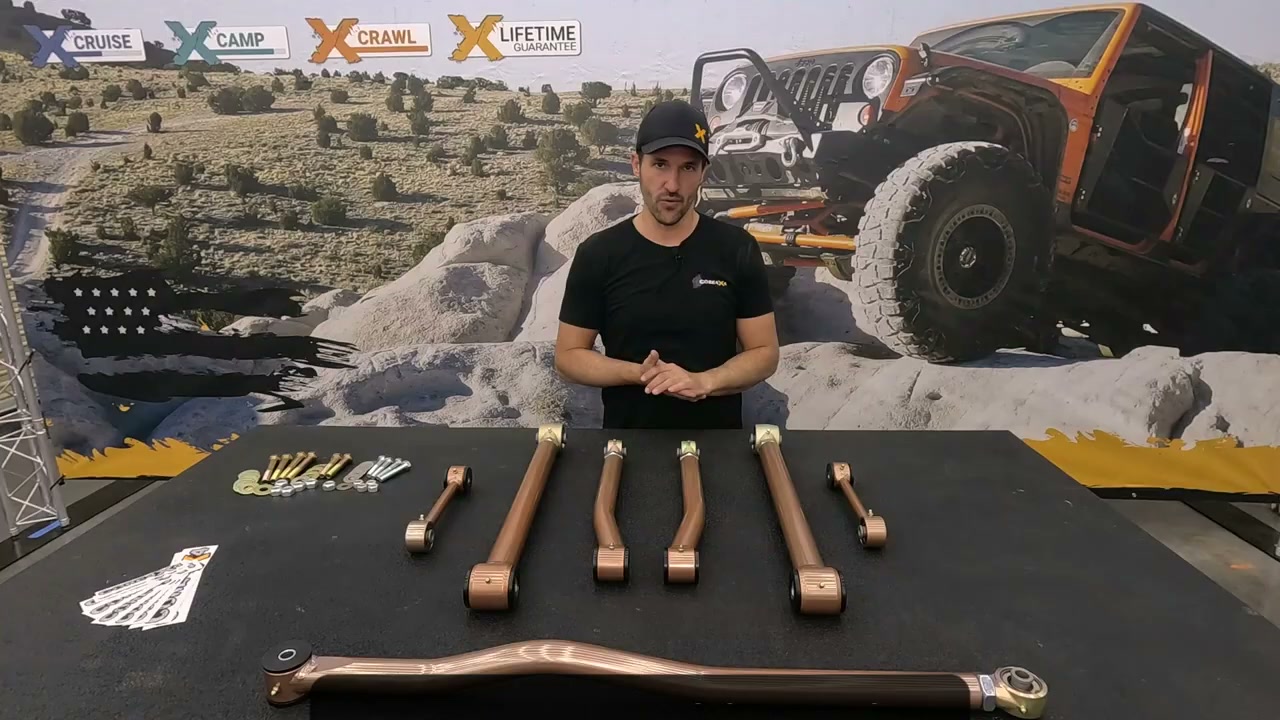
The seven-piece Camp Series rear end kit covers everything in the five-link rear plus the sway bar connection:
- 2pc rear upper adjustable control arms – set your pinion and driveline angles
- 2pc rear lower adjustable control arms – set your wheelbase and center the wheel in the wheel well
- Adjustable rear track bar – re-centers the axle left to right under the truck
- 2pc rear sway bar end links – 3/4-inch cold-rolled steel, replacing the flimsy factory links
- New hardware and nut tabs – 9/16-inch Grade 8 coarse-thread bolts with new weld-nut tabs for the frame brackets
Every Camp Series arm is built from 1.75-inch OD DOM tubing with a 5/16-inch wall—a wall thickness nobody else in the industry runs on parts like this. The fixed end carries a greasable polyurethane bushing, and the adjustable end uses the tried-and-true forged RockJock Johnny Joint.
Cruise, Camp, or Crawl
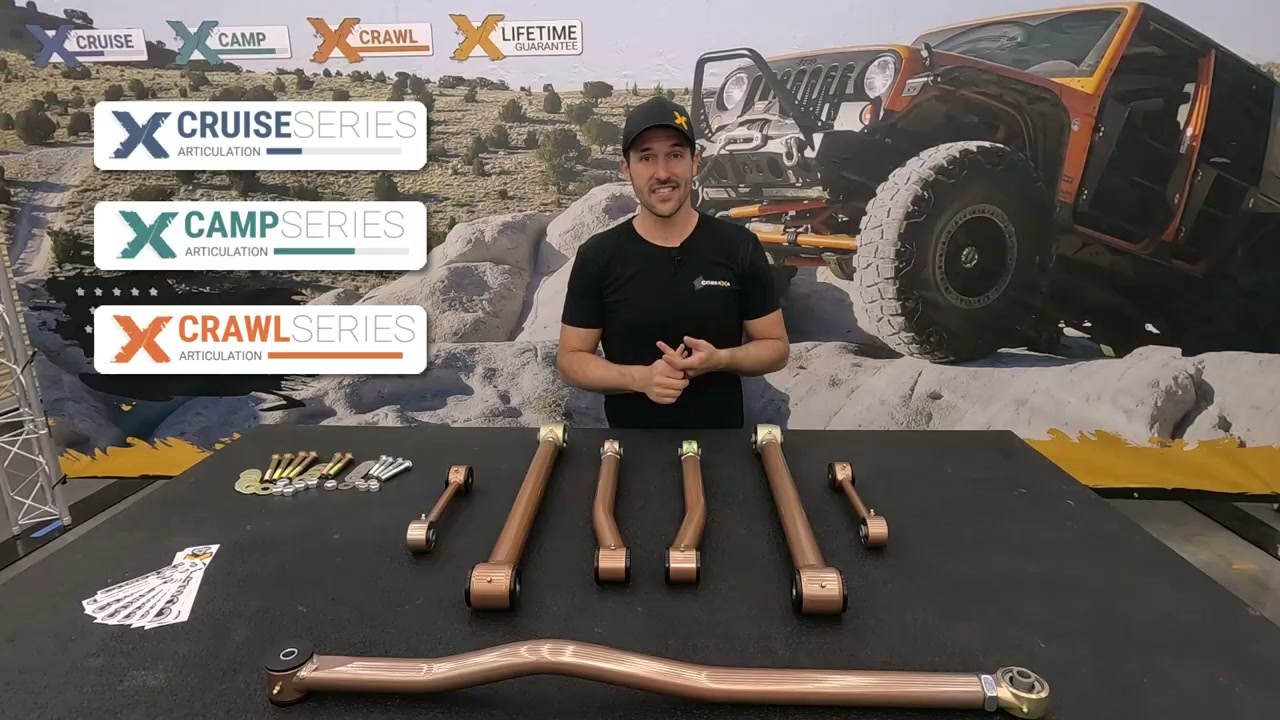
The GMT800 line comes in all three Core 4x4 series levels. The Camp Series shown in the video is the best all-around choice for daily driving, off-road use, and cruising around town. The Cruise Series is the budget-friendly street setup, and the Crawl Series is for more aggressive off-road builds. All series come in 10 standard colors, and you can also order custom colors direct from the factory—the copper-colored arms on this Tahoe are one of those custom jobs.
One important note: this is not just for air ride delete kits or lifted trucks. If your factory air ride still works and you want to keep it, Core 4x4 offers an air ride attachment so you can run the factory system with the new arms. And if you simply want better ride quality, more flex, and a rear end that will last another 20–30 years, that is exactly what these parts are built for.
What Each Component Does
If you are new to solid-axle rear suspension, here is the job description for each piece of the kit:
- Upper control arms – control your pinion angle and driveline angles. When you lift the truck, adjustable uppers let you tilt the pinion back into spec.
- Lower control arms – control your wheelbase. With worn or fixed-length arms, a lifted truck's axle shifts forward in the wheel well; adjustable lowers pull it back where it belongs.
- Track bar (panhard bar) – keeps the axle centered left to right. Lifting shifts the axle sideways, and an adjustable track bar re-centers it so you are not dog tracking down the road.
- Sway bar end links – connect the sway bar to the axle and keep the truck planted when you are off-camber.
Some lift kits use drop brackets instead of adjustable arms. They are more cost-effective, but you lose ground clearance and add an extra link to the suspension. Adjustable arms are the better setup.
Installation Overview
The whole kit is a bolt-on install—no cutting, welding, or drilling. On this 200,000-mile Tahoe the basic sequence was:
- Soak every fastener in penetrating fluid days ahead of time. On a 22-year-old rusted undercarriage, PB Blaster (or any penetrating fluid) applied liberally for a few days before the job is the difference between an easy install and a day of broken bolts.
- Lift the truck, pull the rear wheels, and support the axle. The axle wants to roll as soon as an upper arm comes off—keep it supported so you are not fighting it on reassembly.
- Replace the upper control arms. Remove the factory uppers, install the new nut tabs, set the new arms to length, and bolt them in. If you are keeping factory geometry, do one arm at a time.
- Replace the lower control arms one at a time, matching factory length.
- Torque the control arms—this can be done in the air thanks to the independent crush sleeves (more on that below).
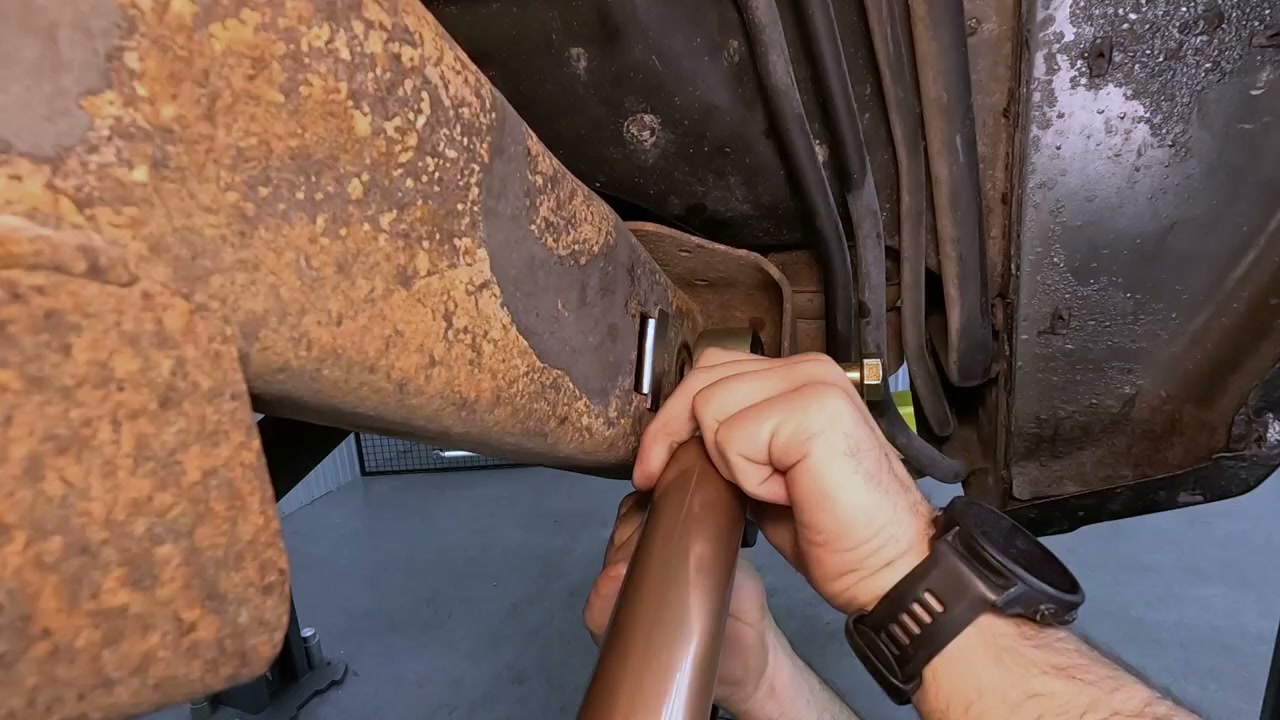
- Remove the factory sway bar end links and track bar.
- Install the adjustable track bar, lengthened slightly if the truck is lifted, to re-center the axle.
- Install the new end links and torque everything down.
- Grease all Johnny Joints and poly bushings, then get at least a rear alignment check to confirm the axle is tracking with the front.
Key Install Details
Install the New Nut Tabs—Do Not Skip This
The kit runs 9/16-inch standard Grade 8 coarse-thread bolts, which are not the same thread as the factory hardware. New nut tabs are included and must be installed in the frame brackets. The new bolts will start to thread into the factory nutserts—and then cross-thread everything into a mess you will not enjoy fixing. Install the new nut tabs first.
Setting and Matching Arm Length
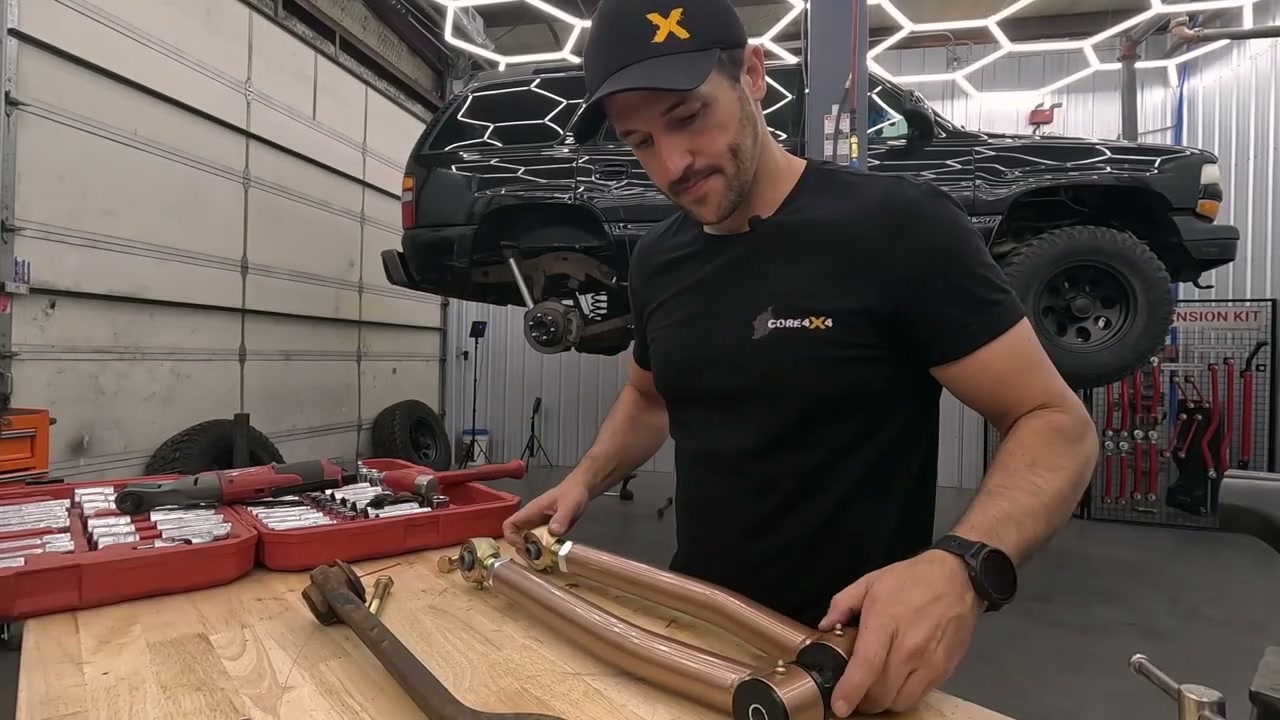
This Tahoe has a 2-inch leveling kit, and at 2 inches of lift most of the rear geometry barely changes—so the new arms were set just a shade longer than factory, with the pinion tilted back slightly for a better driveline angle.
The critical part is matching left to right. The GMT800 upper arms are unique: they have an offset bend, meaning the two bushings do not sit in the same plane. To match bent or offset arms, you have to mirror them—lay them out the way they sit on the vehicle, facing each other, and run a bolt through the joints to check that both arms are set identically. Stacking bent arms on top of each other, the way many people match straight arms, is not reliable. If you do not trust your eye, run one long bolt through both joints—if it passes straight through, the arms are matched.
Fitment Note: Washer Shim on the Upper Johnny Joints
On the Camp and Crawl Series uppers you will notice a small gap between the factory bracket and the Johnny Joint—the joint uses the widest ball center RockJock makes with this bolt hole, so it gets shimmed with a washer on each side during install. This does not affect fit or function in any way. Twenty years of corrosion also means the factory brackets are not all exactly the same width anymore; if you cannot fit both washers, that is fine too. What matters in suspension is the clamp force the bolt creates between the bracket and the ball center. (The Cruise Series bolts straight in with no shims.)
Why You Can Torque These Arms in the Air
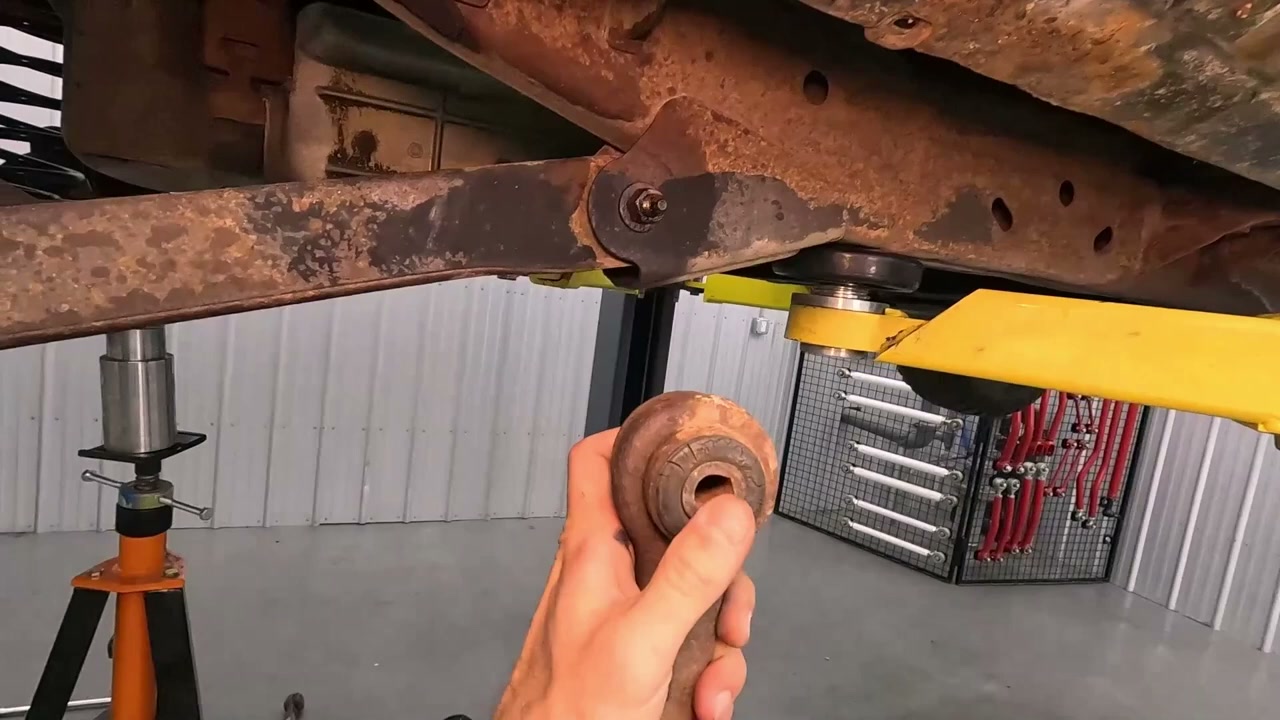
You will hear people on the internet say you cannot torque control arms with the suspension hanging in the air. That is true for rubber bushings: the rubber is fused to the crush sleeve, so if you clamp the bolt down at full droop and then set the truck on the ground, the arm rotates while the crush sleeve stays put—preloading the rubber and eventually tearing it apart. That preload was on full display during this install: the factory track bar physically sprang upward the moment its bolt popped free.
Johnny Joints and Core 4x4's poly bushings use an independent crush sleeve that rotates freely of the bushing. Torque everything in the air, on jack stands, wherever—when the truck sits back down, the joint returns to neutral with zero preload. Snug everything during install, torque it down, and re-torque after the first few hundred miles. The jam nuts are the most important spec of all—they protect the threads from wear, and you cannot go too tight on them.
Factory vs. Core 4x4 End Links
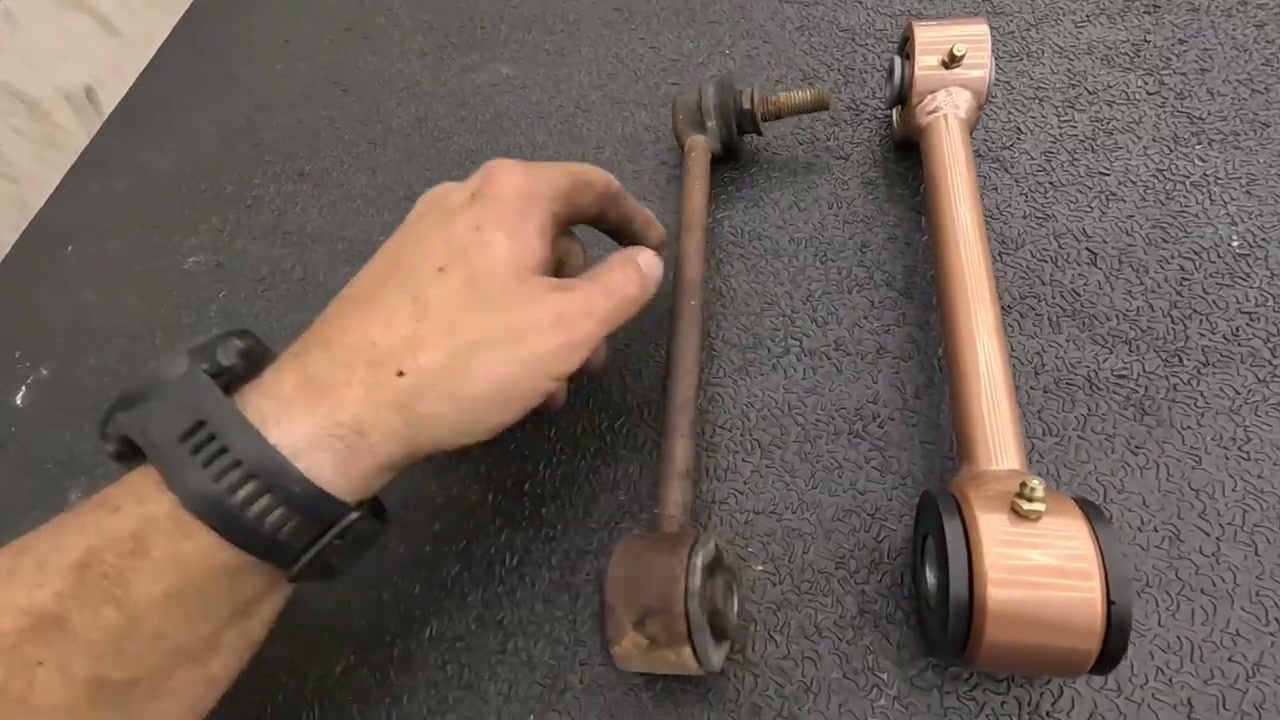
When the factory end links came off, the difference said it all: a thin, questionably-welded factory stick next to a 3/4-inch cold-rolled steel Core 4x4 link. There is just no comparison. One install tip: make sure the fender washer goes on the outside of the polyurethane bushing on the axle end.
Track Bar Install
With a 2-inch lift, the track bar only needs to grow by a sixteenth to an eighth of an inch to re-center the axle—set it close to factory length, then go about a half turn longer. Pre-grease the poly bushing, spread the frame bracket slightly (the brackets are designed to flex), and work the bar into place. On the Camp and Crawl Series the Johnny Joint end fits the upper bracket easily; the Cruise Series poly end needs the bracket spread a little more.
A general tip from the install: pre-grease every polyurethane wear surface before assembly. Once installed, grease has to travel through the bolt passages or the small veins in the bushing to reach the wear surface, which takes a while to work in. A little grease on the surfaces up front saves a lot of hassle.
Component Specifications
| Component | Specification |
|---|---|
| Control Arm Tubing | 1.75 in. OD DOM steel, 5/16 in. wall |
| Adjustable End | Forged RockJock Johnny Joint, greasable, rebuildable |
| Fixed End | Polyurethane bushing with independent crush sleeve, greasable |
| Sway Bar End Links | 3/4 in. cold-rolled steel |
| Track Bar | Adjustable, Johnny Joint + polyurethane bushing ends |
| Hardware | 9/16 in. Grade 8 coarse-thread bolts, new nut tabs included |
| Finish | 10 standard colors, custom factory colors available |
| Fitment | 2000–2006 GMT800: Chevy Tahoe, Suburban 1500, Avalanche 1500, GMC Yukon 1500, Yukon XL 1500, Cadillac Escalade |
| Air Ride | Compatible – factory air ride attachment available |
| Install | 100% bolt-on, no cutting or welding |
The Finished Tahoe
For a 22-year-old truck with 200,000 miles and a suspension that had never been touched, this turned out to be one of the easiest installs the shop has done in a long time—not a single broken bolt. The credit goes to days of penetrating fluid on every fastener before the wrenches came out.
The Tahoe left with its pinion angle corrected, its axle re-centered, fresh greasable joints at every connection, and adjustability built into every link of the rear end. As with any suspension work, follow it up with an alignment—at minimum a rear alignment check to confirm the rear axle is tracking straight with the front.
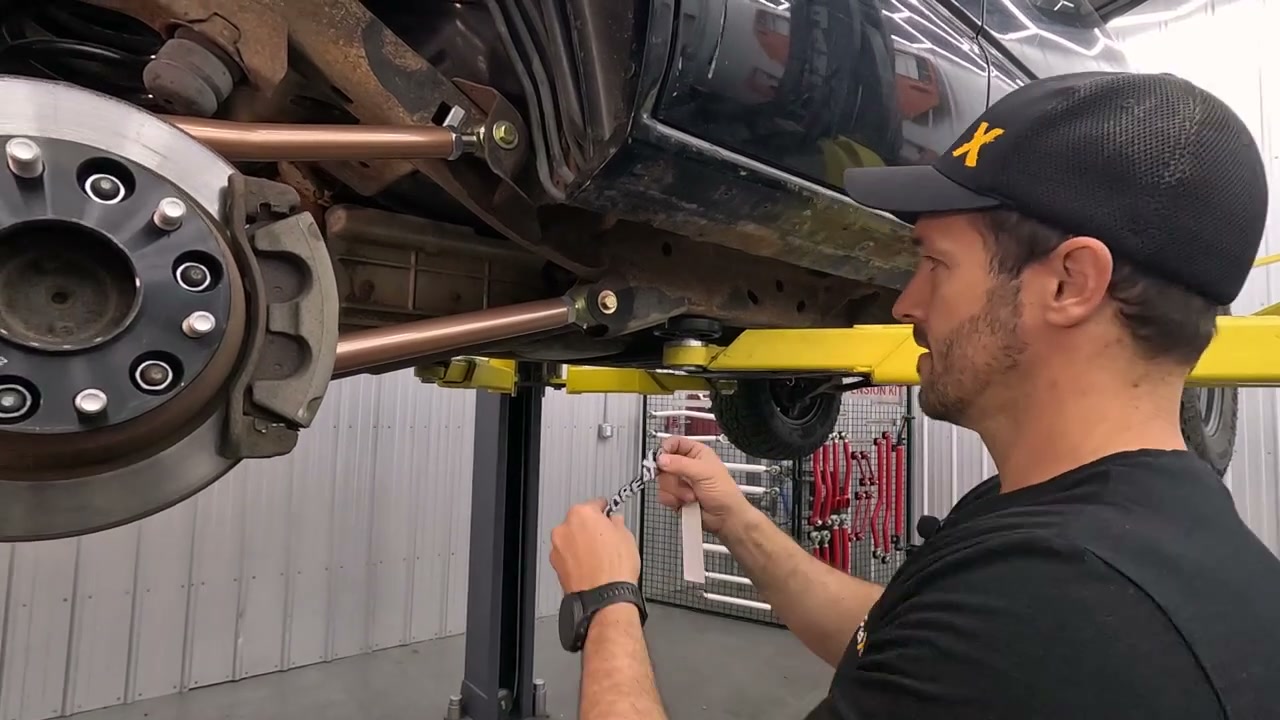
And per shop tradition, the final and most important step: applying the Core 4x4 sticker. That is where all the horsepower comes from.
Frequently Asked Questions
Related Products and Videos
- Camp Series 7pc Full Rear Suspension Kit (everything in this video)
- Camp Series 2pc Rear Upper Adjustable Control Arms
- Camp Series 2pc Rear Lower Adjustable Control Arms
- Camp Series Rear Adjustable Track Bar
- Camp Series Rear Sway Bar End Links
- RockJock Johnny Joint Grease, 14oz (CE-9013G)
- All Chevy Tahoe Parts at Core 4x4
- Watch the Full Install Video on YouTube


